
KUKA Robot Repair for Repeated Mastering Loss
Learn how to diagnose repeated KUKA axis mastering loss by checking fault records, mechanical movement, feedback connections, and repair history.
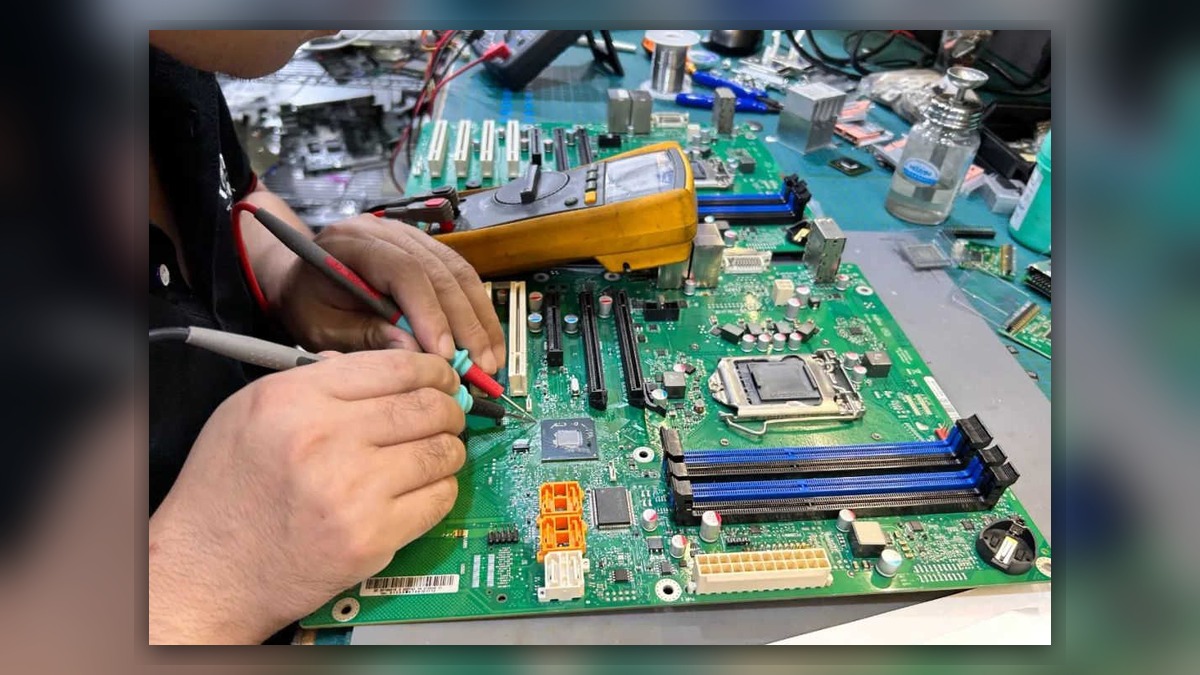
Repeated mastering loss requires KUKA robot repair when an axis position reference becomes invalid, changes unexpectedly, or cannot be retained after a restart. Potentially involved systems include the motor feedback circuit, motor and resolver connections, controller data, mechanical transmission, brakes, and recently replaced components. Before diagnosis, record the complete message, affected axis, robot posture, operating event, and recent maintenance. Mastering loss alone does not prove that the servo motor, feedback-related component, or controller is damaged.
Symptoms and Scope
This guide applies to KUKA industrial robots with one or more axes that repeatedly require mastering, show an unexpected position-reference change, or fail a post-maintenance mastering check. It is intended for diagnostic planning rather than controller-specific adjustment instructions. Mastering tools, procedures, terminology, and allowable checks vary by robot generation, controller model, software version, and installed options.
A mastering problem may appear after motor replacement, cable work, collision recovery, brake service, controller data restoration, prolonged shutdown, or mechanical repair. It may also occur without an obvious preceding event. An axis-position discrepancy cannot independently identify the failed component. The evidence must distinguish data loss from actual axis movement, connection problems, feedback instability, and mechanical displacement.
Information to Record First
Preserve the original evidence before clearing messages, restoring files, or attempting another mastering operation. Compare the event with maintenance records and the controller alarm history.
Complete alarm code and full text:
Date and exact time:
Faulted axis:
Robot position/posture:
Program step or motion:
Actual speed and load condition:
Reset result:
Time until recurrence:
Related power, communication or feedback alarms:
Also record the robot model, controller model, serial identifiers, software version, mastering method previously used, and any component changed before the symptom began. If a motor or cable was replaced, photograph its complete label and connector arrangement.
Safety and Preparation
Place the robot in a controlled maintenance condition and follow the applicable KUKA operating information, site lockout procedure, and cell risk assessment. Do not enter the safeguarded space or release an axis brake without an approved method for controlling possible movement. Do not repeatedly run production motion merely to reproduce the fault.
Back up available controller and robot data before authorized changes. Preserve the current mastering information and fault history so that the original condition can be compared with later results. Parameter changes, brake release, and mastering should be performed only by suitably competent personnel using procedures applicable to the installed system.
KUKA Robot Repair Diagnostic Sequence
- Confirm the exact symptom. Determine whether the controller reports lost mastering, whether mastering completes but later changes, or whether the displayed axis position conflicts with the physical robot posture. These conditions may require different diagnostic branches. If the evidence is unclear, retain the logs and avoid assuming that the motor is defective.
- Review the event timeline. Identify whether the problem followed a collision, power interruption, motor replacement, cable disconnection, gearbox work, controller restoration, or battery-related maintenance. A close timing relationship can prioritize inspections, but it does not confirm causation.
- Inspect for unintended mechanical movement. With the robot safely isolated, look for a posture change, abnormal joint play, loose mounting hardware, impact evidence, or load movement. If the axis physically moved while power was removed, investigate the brake and mechanical transmission before treating the issue as data-only mastering loss.
- Check accessible connections and visible damage. Inspect the affected axis motor connections, feedback cabling, cabinet-side terminations, grounding provisions, strain relief, and exposed dress components according to the installed configuration. Look for loose seating, contamination, bent contact areas, heat discoloration, crushed cable sections, or evidence of an incorrect replacement connection. Do not perform unsupported energized probing.
- Compare maintenance and part information. Verify the exact motor model, part number, hardware revision, connector layout, and robot-axis application. A physically compatible-looking motor is not sufficient evidence of electrical or feedback compatibility. If the symptom began after replacement, confirm that the installed component and associated configuration match the robot documentation.
- Separate data, feedback, and mechanical causes. If mastering disappears after power cycling without evidence of physical movement, investigate stored data, controller condition, and feedback communication. If the position changes during a specific posture or cable-flex condition, inspect the relevant cable route and connectors. If the axis drifts, drops, or changes position while safely stationary, stop testing and evaluate the brake and mechanical system.
When Servo Motor Inspection May Be Considered
KUKA servo motor repair may be considered when fault records and controlled inspection consistently point to the motor assembly, brake, feedback circuit, bearings, winding condition, or damaged connectors. The motor should not be condemned solely because the axis lost mastering. Cable faults, controller data problems, incorrect installation, mechanical movement, or mismatched replacement parts can produce related symptoms.
Professional evaluation may include identification checks and appropriate offline testing based on the exact motor design. Repair or replacement decisions should account for the complete part number, revision, connector layout, mechanical condition, contamination history, and availability of verified test procedures.
Verification After Repair or Correction
After correcting the supported cause, restore covers and connections, confirm that tools and personnel are clear, and complete the manufacturer-defined mastering procedure for the installed robot. Verify axis references, check for recurring messages, and compare the robot posture with approved cell references. Controlled low-speed observation may be performed only by competent personnel under the applicable safety procedure.
Do not return the robot directly to unrestricted production. Confirm safeguarding functions, programmed limits, tooling condition, cable clearance, and representative motion before normal operation. Record the final mastering status, work performed, installed part identifiers, verification result, and any remaining restrictions.
Information Required for a Repair Inquiry
ZHB is an independent industrial robot inspection, repair, and maintenance service provider that also supplies parts to overseas customers. For a KUKA repair inquiry, provide the robot model, controller model, complete alarm code and text, alarm history, affected axis, component label, fault conditions, recent maintenance details, and clear photographs of the motor, connectors, cabinet components, and visible damage. General service information is available at https://autonews.best/services.
Common Diagnostic Mistakes
Avoid remastering repeatedly without preserving the original fault evidence. Do not assume that successful temporary mastering proves the system is repaired. Other common mistakes include replacing the motor before checking part identity, overlooking physical axis movement, ignoring a preceding collision or cable repair, and restoring old controller data without confirming that it matches the current mechanical configuration.
Conclusion
Repeated mastering loss is a position-reference symptom, not a component diagnosis. Effective KUKA robot repair begins by documenting the event, determining whether the axis physically moved, reviewing recent work, and separating controller-data, feedback-connection, brake, and mechanical causes. Repair or replacement should follow evidence tied to the exact robot, controller, axis, and component configuration.