
How to Safely Restart Industrial Robots After Long-Term Downtime? Power-On and Trial Run Inspection Procedures for Multi-Brand Equipment
Industrial robots should not directly resume automatic production after experiencing long holidays, production line modifications, or long-term storage. This article, covering ABB, FANUC, KUKA, YASKAWA, and general industrial robots, explains the inspection methods for mechanical, electrical, data, safety circuits, and low-speed trial runs before restarting production.
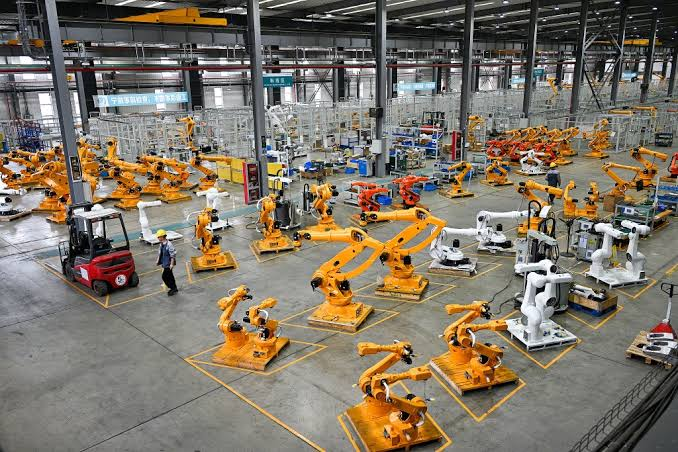
After long-term downtime, the lubrication status, control cabinet environment, battery charge, connector contact, and peripheral equipment condition of industrial robots may have changed. Directly resuming automatic operation can easily escalate potential issues into collisions, zero-point loss, or drive failures. While the interfaces of ABB, FANUC, KUKA, and YASKAWA robots differ, the fundamental logic for restart inspections is similar.
01. Conduct On-Site Verification Before Power-On
Clear tools, packaging materials, and temporary supports from the robot's work area. Check for any modifications to the fencing, safety doors, light curtains, emergency stop buttons, and the surroundings of external axes. Confirm that the base, fixtures, welding torches, or grippers are not loose. Observe whether there is any oil seepage near joints and reducers. Inspect the robot body cables, power cables, encoder cables, and teach pendant cables, paying special attention to crushing, rodent damage, corrosion, and water ingress in connectors.
02. Check the Control Cabinet and Power Supply Conditions
After powering down and performing lockout/tagout, inspect the control cabinet filter, fans, contactors, terminals, and grounding connections. If condensation, dust accumulation, or insect ingress is found, clean, dry, and verify insulation status first; do not power on directly. Verify that the incoming power supply and peripheral equipment power are normal. Do not bypass safety circuits to force a startup. If batteries were replaced during the downtime, first confirm the integrity of programs, parameters, zero points, and calibration data.
03. Preserve Fault Evidence During Initial Power-On
After powering on, record the complete alarm codes, occurrence times, and axis numbers; do not continuously reset. Check the status of the controller, drive units, I/O, safety system, and fieldbus. If encoder, battery, communication, or servo alarms appear, locate the issue by consulting the maintenance manual and historical records. The key to cross-brand industrial robot repair is not applying the same alarm interpretation, but rather verifying layer by layer: power supply, feedback, communication, load, and mechanical resistance.
04. Manually Verify Each Axis at Low Speed
After confirming personnel have evacuated the hazardous area, manually jog each joint and external axis separately at low speed. Observe for any abnormal noises, vibrations, abnormal brake release, or increased movement resistance. Check if the current position matches the actual posture; do not arbitrarily perform zero-point reset without confirmation. If the robot alarms only in a specific posture, focus on inspecting the robot body cable bending areas, connectors, and corresponding axis feedback lines.
05. Perform No-Load Trial Run Before Resuming Production
First execute a low-speed, no-load program to confirm that TCP, workpiece coordinates, soft limits, tool loads, and peripheral interlocks have not been modified. Then gradually restore to normal cycle time. During material-loaded testing, check process positions for grasping, welding, palletizing, etc., and monitor motor temperature rise, operating sounds, and repetitive docking performance. After restarting production, establish short-term inspection records. Incorporate alarms, corrective actions, and replaced parts into the robot maintenance archive to facilitate identification of recurring faults.
Industrial Robot Repair Hotline: +86 18122009539
Contact Repair Engineer: +86 18122009539