
Industrial Robot Restart Inspection After Long-Term Shutdown: Power-On, Zero Point, and Recovery Procedures
After a long-term shutdown, industrial robots may experience issues such as control cabinet moisture, encoder battery failure, revolution counter loss, changes in joint lubrication status, and abnormal safety signals. This article introduces the mechanical, electrical, power supply, zero point, and program inspection methods before restarting a long-term shutdown robot, helping factories reduce power-on alarms and operational collision risks.
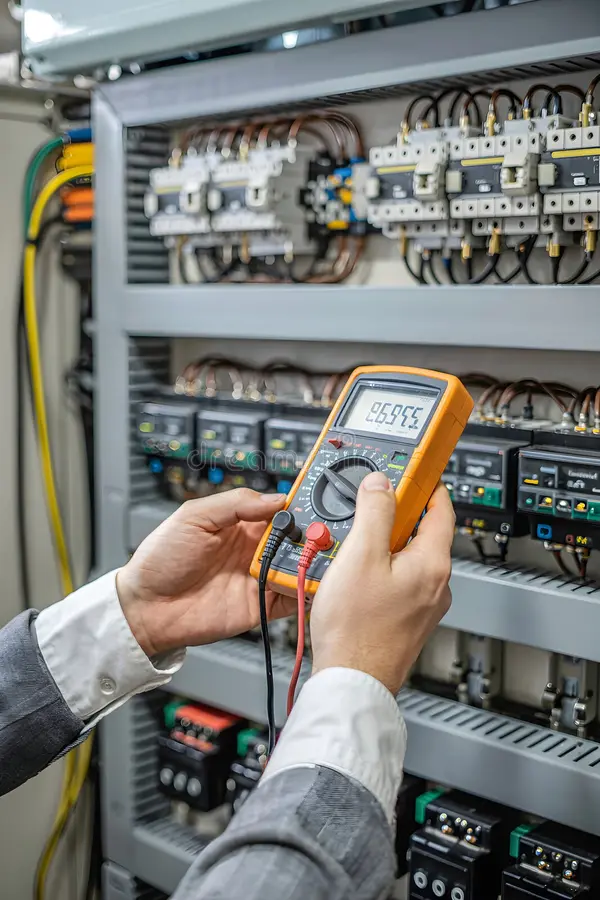
After an industrial robot has been shut down for several weeks or months, the condition of the control cabinet, motors, encoders, reducers, cables, and peripheral equipment may change. If the original automatic program is run directly upon restart, problems such as battery alarms, zero point loss, mechanical jamming, communication offline, and trajectory deviation may occur.
For robots shut down for more than one month, a complete inspection is recommended before restarting. The longer the shutdown time, the higher the on-site temperature and humidity, or the more thorough the equipment power-off, the more comprehensive the inspection items should be. Specific requirements should also be determined based on the robot model, application process, and equipment manual.
1. Confirm Shutdown Duration and Reason
First, confirm the actual robot shutdown time, power-off method, and whether there were any unhandled alarms before shutdown. The inspection focus differs between normal shutdowns due to production adjustments and shutdowns due to collisions, water ingress, control cabinet faults, or mechanical abnormal noises. If the equipment was shut down with a fault, the original problem should be addressed first; restarting power should not be used as a fault reset method.
2. Check the Robot's Surrounding Environment
Check if the robot's work area has changed, and confirm that fixtures, tooling, conveyor lines, protective barriers, and peripheral equipment have not moved. During long-term shutdowns, factory construction, equipment relocation, or tooling modifications may have occurred, potentially making the original program trajectory no longer match the on-site environment. Also, clear away materials and tools piled around the robot to ensure there are no obstacles within its motion range.
3. Check the Mechanical Body Condition
Observe the robot base, mechanical arm, wrist, and tool flange for any impact damage, rust, deformation, or looseness. Check if base bolts, tool mounting bolts, and piping brackets are secure. If the robot was subjected to forklift collisions, hoisting vibrations, or external pushing during the long-term shutdown, the base position and joint posture may have changed.
4. Check Joint Oil Leaks and Lubrication Status
Check each axis reducer, oil filler port, drain port, and joint seal locations for oil leaks or grease seepage. Long-term static conditions may cause lubricants to settle, and seals may also leak due to aging. If the oil shows signs of emulsification, significant discoloration, unusual odor, or metal particles, further inspection of the reducer's internal condition should be performed before operation.
5. Check End-of-Arm Tooling and Piping
Check grippers, welding torches, spray guns, fixtures, vacuum systems, air hoses, and tool cables for looseness, aging, or compression. During long-term shutdowns, air hoses may harden and crack, and valve groups and cylinders may exhibit abnormal operation due to contamination or seal aging. If the tooling has been disassembled or modified, the tool coordinates and load data should be re-verified.
6. Check Body Cables and Connectors
Check the robot body cables, power cables, encoder feedback cables, and tool harnesses for rodent damage, crushing, stretching, or corrosion, focusing on the wrist area, base exit points, and connector roots. If moisture, oil contamination, oxidation, or metal dust is present inside the plugs, cleaning and drying should be completed before powering on.
7. Check the Control Cabinet Interior
Before opening the control cabinet, first observe if the cabinet door, sealing strips, and air vents are intact. Then, check inside the cabinet for dust accumulation, moisture, condensation, insects, rodent damage, or obvious corrosion. Power modules, drives, main computers, contactors, terminals, and connectors should not be loose, burnt, or show signs of water stains. If significant moisture is found, drying and insulation checks should be performed first; do not power on immediately.
8. Check Filter Mats and Cooling Fans
Long-term shutdown does not mean filter mats and fans do not need inspection. Filter mats may absorb moisture and develop mold, and fan bearings may become stuck due to prolonged static conditions. Before restarting, clean or replace clogged filter mats, manually confirm that fan blades are free of foreign objects, and observe if the fans start normally after power-on.
9. Check Input Power and Grounding
Confirm that the control cabinet input voltage, phase sequence, circuit breakers, ground wires, and connection terminals are in normal condition. If the factory power distribution system was modified during the shutdown, special attention should be paid to whether the power specifications and grounding connections have changed. Abnormal voltage, phase loss, or poor grounding may cause the controller to fail to start, drive alarms, and communication abnormalities.
10. Check Encoder Batteries and Position Data
During long-term power-off, encoder backup batteries continuously maintain absolute position data. Before restarting, verify battery replacement records and check the battery box, plugs, and wiring condition. If battery low voltage, absolute position, revolution counter, or zero point-related alarms appear after power-on, record the complete information first; do not run the original program directly.
11. Check System Backups and Programs
Confirm that the robot programs, system parameters, tool coordinates, workpiece coordinates, load data, I/O configuration, and safety configuration saved before shutdown are still usable. If the control cabinet storage device, main computer, or system software was repaired during the shutdown, verify that the current system data matches the original backup to avoid using incorrect program versions to resume production.
12. Check Air Supply and Peripheral Equipment
Before reconnecting the air supply, cooling water, welding power supply, and other peripheral systems, check the pressure, valves, pipelines, and interfaces. Sudden restoration of air pressure may cause unexpected movements of fixtures or cylinders, so first confirm that peripheral equipment is in a controllable state. PLCs, remote I/O, vision systems, positioners, and safety equipment also need to have their communication status verified item by item.
13. Check Safety Circuits
Test the control cabinet emergency stop, teach pendant emergency stop, external emergency stop, safety doors, door lock switches, light curtains, and safety PLC separately. Confirm that the robot can stop when safety signals are triggered, alarm information is correct, and it can be reset according to the normal procedure. If servo enable fails after a long-term shutdown, first check the complete safety chain; do not directly short-circuit safety signals.
14. Initial Power-On Inspection
During the initial power-on, start the control system first; do not immediately run the automatic program. Observe the startup process of the control cabinet fans, main computer, teach pendant, drive modules, and communication devices, and record all alarms and warnings. Focus on checking whether the encoder batteries, position data, fieldbus, external axes, and safety systems are normal.
15. Low-Speed Manual Operation
After confirming that alarms are handled and the robot's current position is reasonable, test each axis's forward and reverse movements separately in manual low-speed mode. During operation, observe joint sounds, vibrations, temperature rise, cable posture, and brake status. If any axis exhibits jamming, abnormal noise, or significant shaking, stop the test and inspect the mechanical transmission and lubrication status.
16. Program and Positioning Verification
After low-speed manual operation is normal, first move the robot to a fixed reference point and check the zero point, TCP, tool coordinates, and workpiece coordinates. Then, run the complete program at low speed without load, focusing on observing the robot's trajectory near fixtures, workpieces, and peripheral equipment. After confirming no trajectory deviation, gradually increase the speed and proceed with load production verification.
17. Summary
Before restarting an industrial robot after a long-term shutdown, inspect the mechanical body, reducer lubrication, cables, control cabinet moisture condition, input power, encoder batteries, safety circuits, and peripheral equipment. After the initial power-on, handle alarms first and confirm the robot's zero point, then gradually recover according to the sequence of low-speed manual operation, no-load program, and load production. Do not directly run the original program at automatic high speed.
Maintenance Consultation
If you need to handle issues such as a long-term shutdown robot failing to start, encoder battery alarms, zero point loss, control cabinet moisture, or recovery trajectory deviation, please provide the robot brand, body model, controller model, shutdown duration, complete alarm screenshots, and equipment site photos.
Industrial Robot Maintenance Hotline: +86 18122009539
Contact Maintenance Engineer: +86 18122009539